A booklet printing artwork bleed guide starts with one key rule: if a colour, photograph, pattern or graphic is meant to reach the edge of a full-bleed cover, it must extend beyond the finished trim edge. At the same time, logos, text, QR codes and other important details need to sit comfortably inside the safe area. That separation gives the printer room to trim the finished booklet while keeping the cover looking intentional.
⏱️ Estimated reading time: 6 minutes
Table of Contents
Full-bleed covers can be striking for many business uses. The practical aim is simple: build the cover to the printer’s supplied template, allow for bleed around the outside, and keep essential content away from the cut edge and fold.
What a booklet printing artwork bleed guide covers
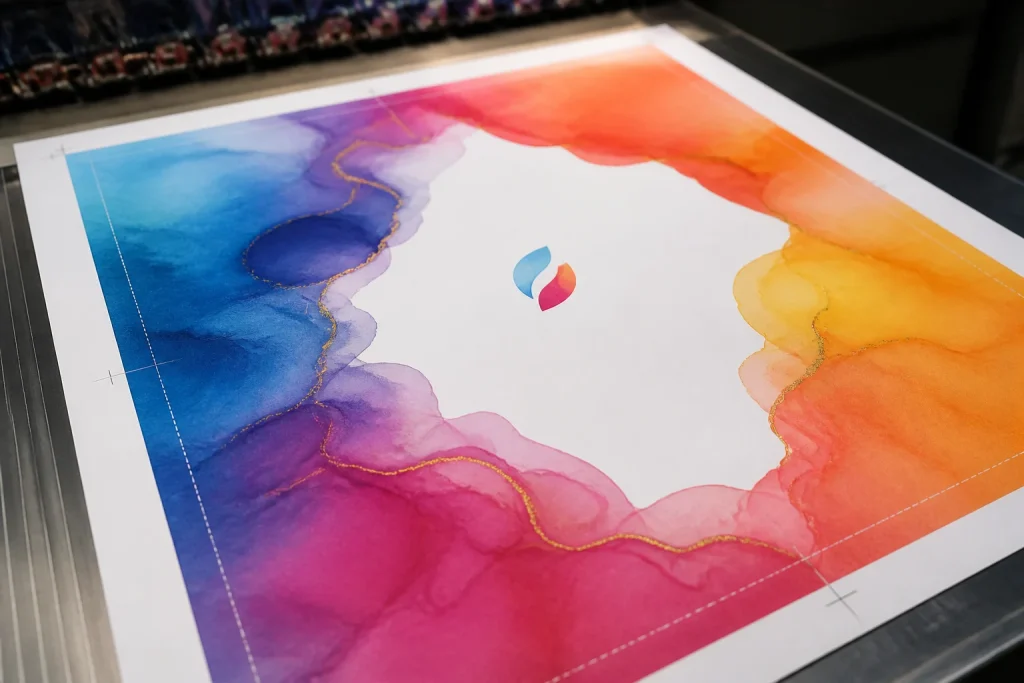
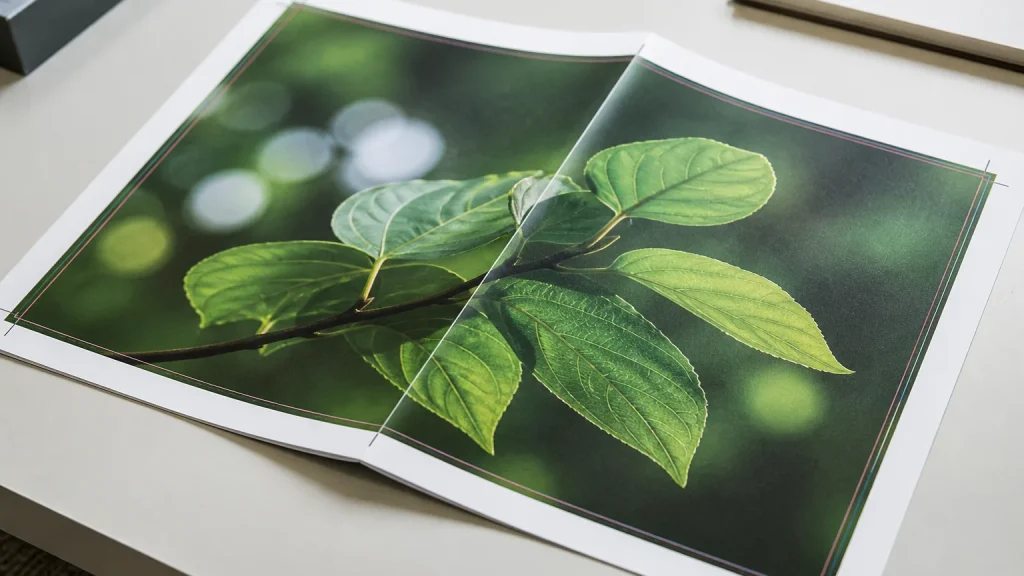
Bleed is extra background artwork placed outside the final cut size. It is not normally intended to appear on the finished booklet. Instead, it allows the printed sheet to be trimmed without leaving a narrow unprinted line at the edge if the cut position varies slightly.
Trim is the final edge of the closed booklet. The safe area is an inner boundary where important elements should sit. Each serves a different job, and mixing them up is a common source of artwork problems:
- Bleed area: continue edge-to-edge background imagery, blocks of colour and decorative shapes into this area.
- Trim line: shows where the booklet is intended to be cut to its finished size.
- Safe area: protects text, logos, contact details and scannable codes from looking cramped or being affected by trimming.
Your printer’s artwork specification or template should define the required bleed and safe-area allowance for the particular booklet. Do not assume that a setting used for a flyer automatically applies. Finished size, binding, cover layout and production workflow can all affect the supplied artwork setup.
Plan the cover as a spread, not two separate pages
A stapled booklet cover is often supplied as one outside cover spread: back cover on the left and front cover on the right, with the fold line between them. Thinking of it as a single piece helps spot problems easy to miss when front and back are designed independently.
Start by confirming the finished closed size and orientation. Then use the printer’s template to set up the complete outside cover to supplied dimensions. Place a full-width image or colour background across the whole spread if that is the intended design. Make sure it continues into every outer bleed edge, rather than stopping at the trim line.
The fold is worth treating with respect. A large photo may cross it successfully, but a face, small logo, fine rule or sentence positioned directly on it can appear awkward once the booklet is folded and stapled. Keep event names on the front panel.
Consider how the cover will be seen. The front cover needs to make sense on its own when the booklet is stacked, displayed or handed out. The back cover may carry contact details, a call to action or supporting branding, but those details still need a safe distance from the outer and folded edges.
Use this booklet printing artwork bleed guide before designing details
It is usually easier to build the document correctly at the beginning than to retrofit bleed at the end. In layout software, create the cover using the final supplied dimensions and turn on visible guides for trim, bleed and safe areas. Locking template layers can help prevent guides being moved accidentally during design.
Place background elements first. Extend solid colours, textures and photographs through the bleed boundary on all outside edges where they are intended to print to the edge. Avoid stretching a low-resolution image simply to fill the extra area; it may make the cover look soft or distorted. If the image is tight to the edge already, you may need to crop it differently or use a complementary background colour to create enough extension.
Next, place the logo, title, supporting copy and any codes inside the safe area. White space here is not wasted space. It gives the cover a calmer, more deliberate appearance and makes minor trim movement far less noticeable. Fine lines close to an edge are particularly risky: even if they survive trimming, they can look uneven because the visible border is no longer consistent.
For a cover with a dark full-bleed background, check that small reversed-out type remains comfortably clear of both trim and fold. A design that looks balanced on screen can feel tighter once it becomes a physical booklet held in the hand.
Check the fold, page order and exported PDF

Artwork setup is not only about the outside edge. Before exporting, check that the front cover is on the correct panel, the back cover is in the expected position and the inside cover pages follow the printer’s requested format. Booklet files may be supplied as individual reading pages or as printer spreads depending on the job, so follow the brief rather than imposing pages manually unless asked to do so.
When reviewing the PDF, inspect it at a useful zoom level and, if possible, print a small office proof for layout checking. It will not reproduce the final stock or colour, but it can reveal a reversed cover, a title that sits too close to an edge, or a photo that no longer works across the fold.
Check every edge of the outside cover. Does the background reach into the bleed? Are decorative elements meant to be trimmed, rather than accidentally left short? Is the logo fully within the safe area? Is any essential wording crossing the fold? Finally, use the printer’s preferred PDF export settings and keep the original editable file in case an amendment is needed.
Conclusion
Full bleed is optional: a white or coloured margin may suit a minimalist cover or an image with no room for a useful crop. Avoid fine borders close to trim. For a dependable result, extend backgrounds into the supplied bleed, keep essential details inside the safe area, and check the spread and PDF before approval. For unusual sizes or bespoke layouts, confirm requirements with your printer before production begins.